InSites Inventory Management
One of the unique features of Botlink InSites is the robust inventory management system that makes keeping tracking of resources across multiple sites easy and intuitive. In this walkthrough we’re going to go through how to setup the sites and products, as well as the process of associated new flights with the correct location.
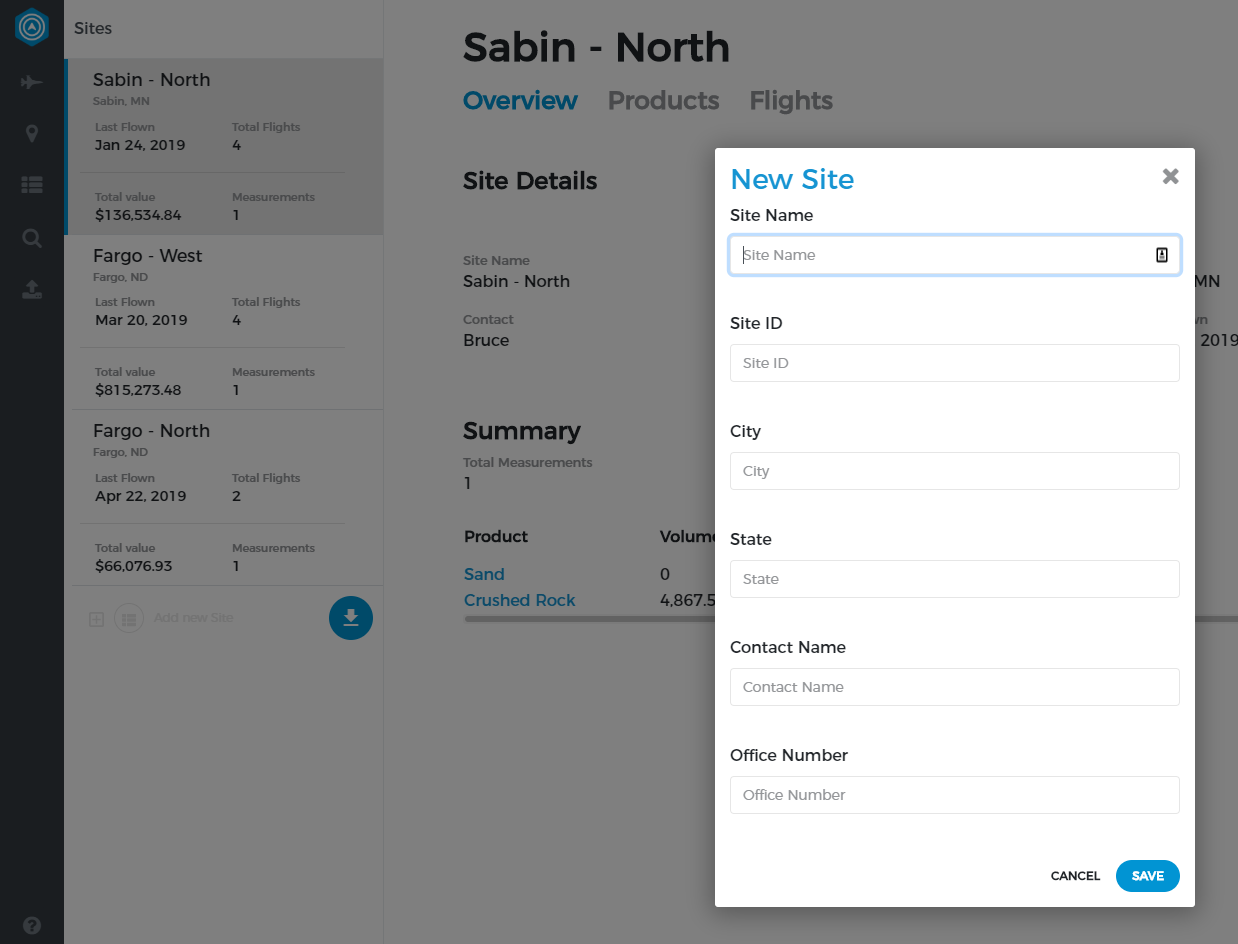
The first step in setting up the inventory management feature is to create each unique location. To create a new location, navigate to the sites tab, and click the “Add New Site” button. This will prompt you to fill out some general information for the new location.
NOTE - The “Site ID” is an internal reference number, so sequentially numbering your new sites will do the trick.
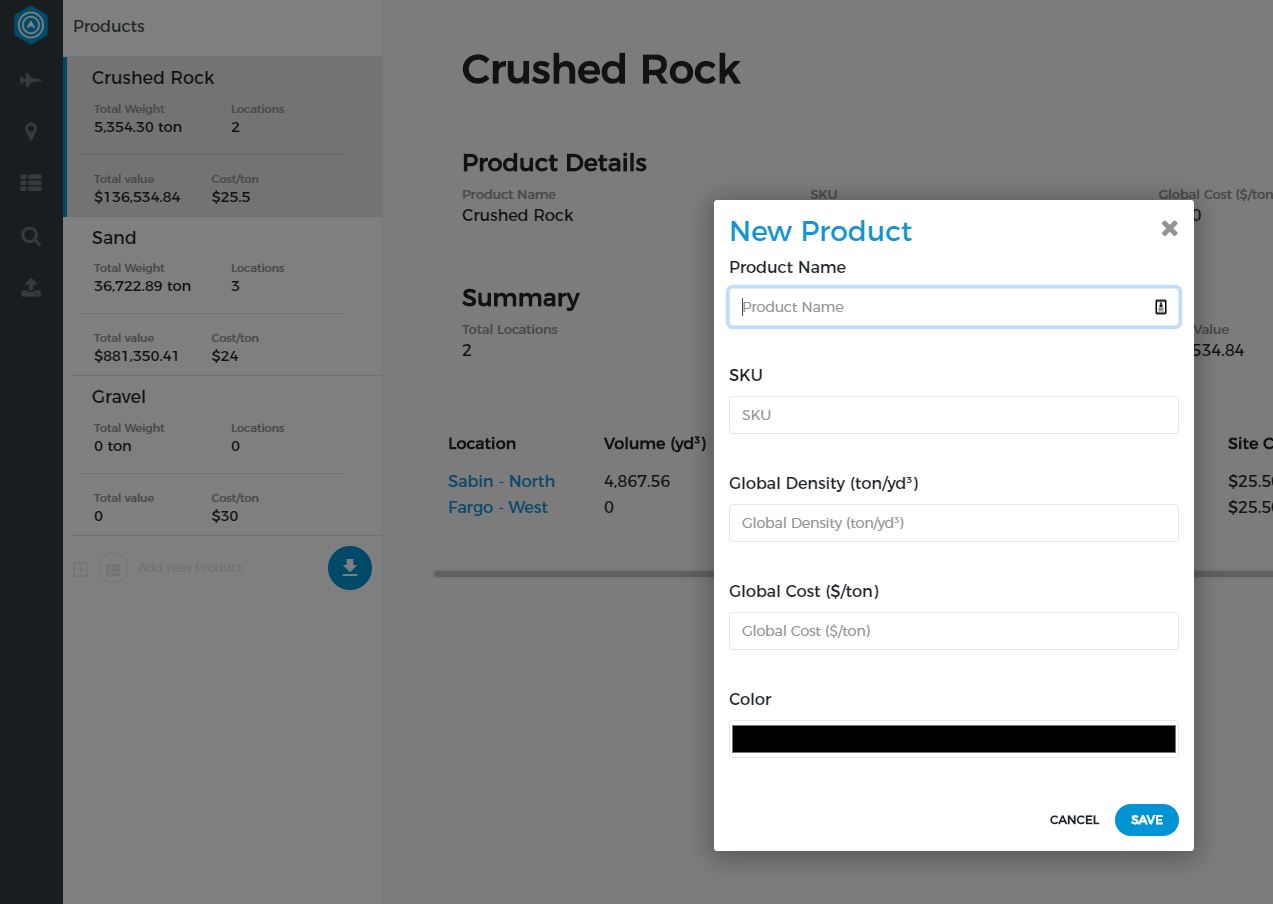
Once the new site is created, the next step in getting the inventory management system up in running is to create some global products in Botlink. To do this, navigate to the product tab, and click “Add New Product”. This will prompt you to add some general information, as well the density and value of the product.
NOTE - The SKU is an internal reference number, so sequentially numbering the products will do the trick. Also, the density and cost numbers can be changed at anytime, and can also be overridden at the flight level.
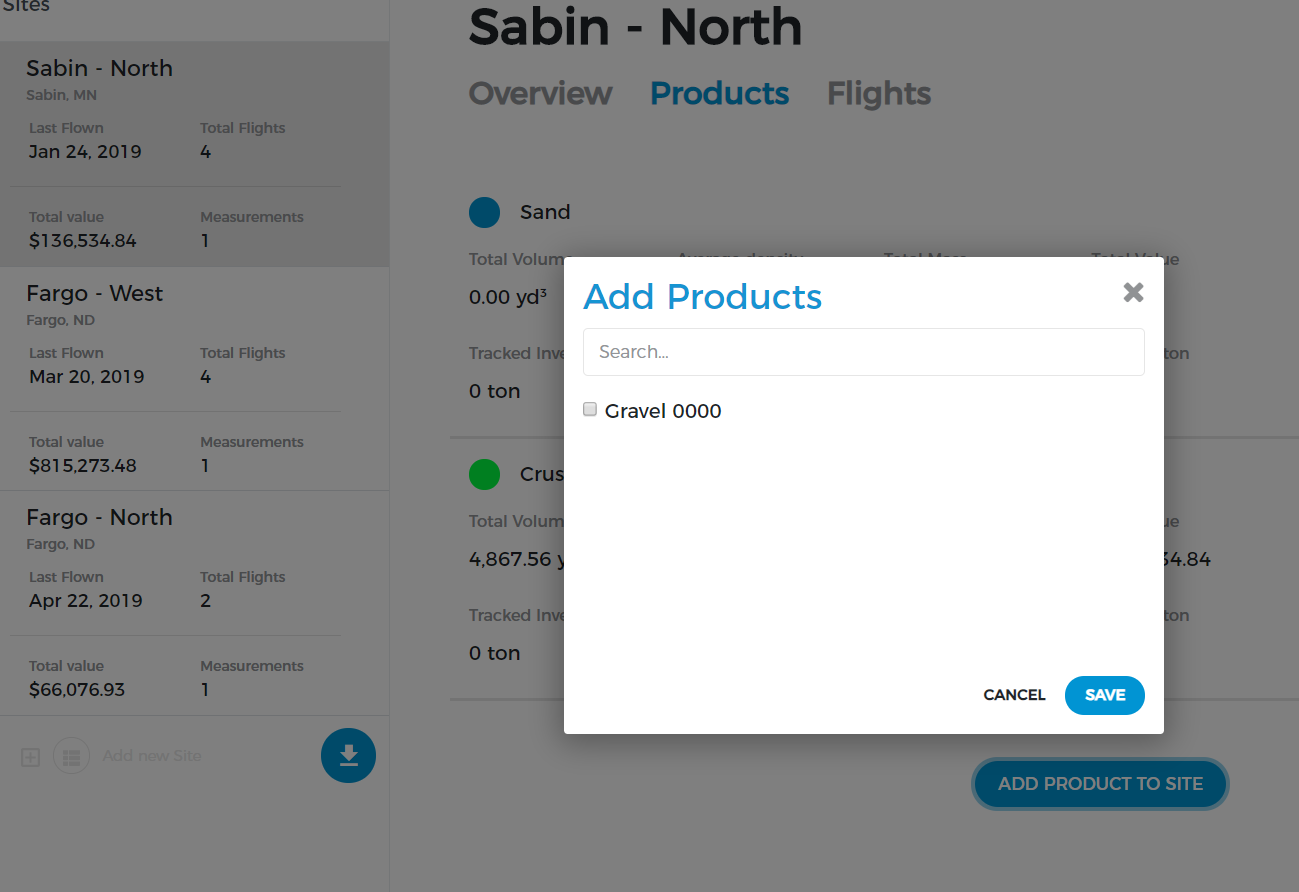
Once you’ve setup all of your products, the next step is to tell the system what location/s those products will exist at. To do this, navigate to the sites tab, and click the products header at the top of the page. Once you’ve navigated to the products tab, simply click “Add Product to Site” and select all the products that are available at that specific location.
So, now that all locations and products are created, and all the products are linked to their correct location, the last step is linking flights to their correct location and assigning the correct product to individual piles.
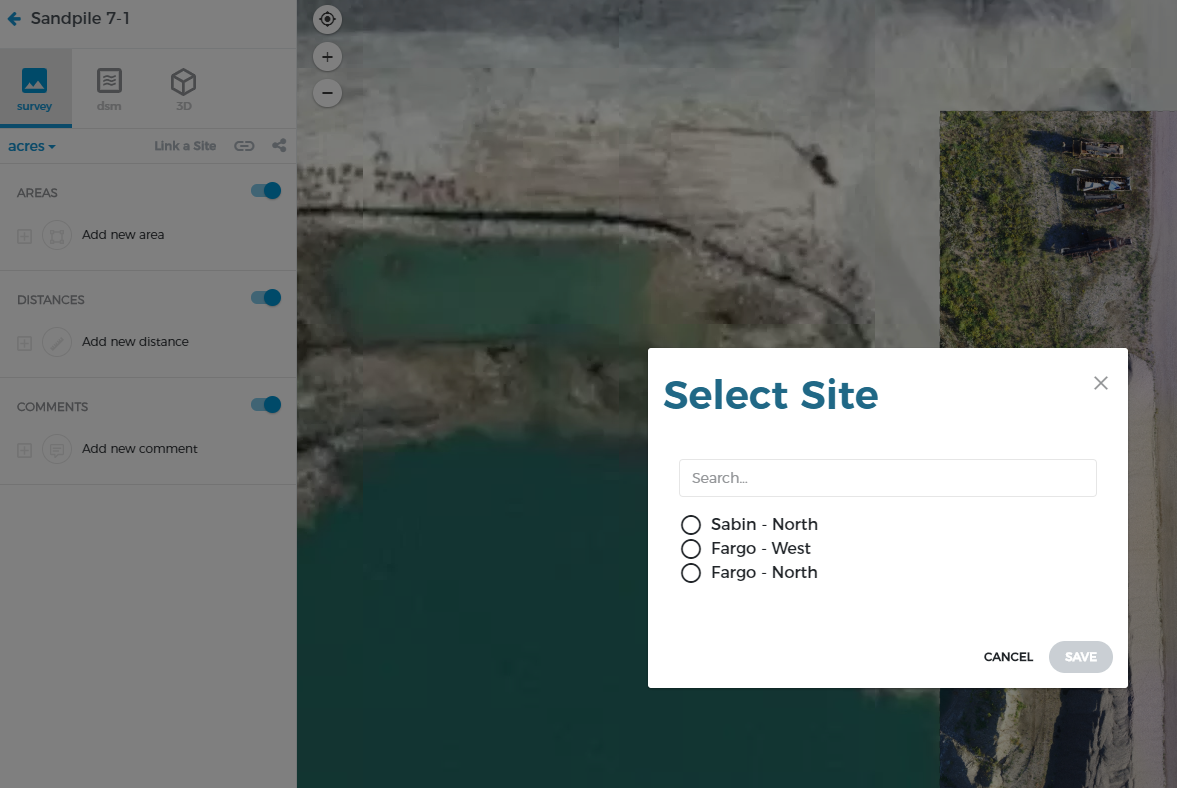
To link a flight to a location, navigate to the specific flight in the flight’s tab. At the top of the information bar, there is a “Link a Site” button. Click that, and then select the location that flight belongs to, and hit “save”.

The last step is to assign products to the actual piles on the ground. First, go ahead and trace the pile you want volumetrics information from. Once the pile area is identified, click the “Edit” button, and then select the correct product in the dropdown menu. Once the product is selected, hit “save”, and the setup process is complete.
Now that you have locations and products setup, and you’ve linked individual flights to locations with products on the ground, you now have access to Botlink’s inventory management dashboards. You can quickly see the most recent inventory numbers, and can export that information whenever you’d like. For more information on exporting information from InSites, check out our Exporting article.