Best Practices for Survey Drone Flights for 3D Mapping
With conducting survey flights with the need of the end product being a 3D map there are a handful of things to consider when going about these operations. These items to consider, and will be discussed here, are as follows:
Type of Survey
Platform
Weather
Flight Settings
Post Analysis
Survey Type
When deciding whether or not to do a survey map for a given area it is important to decide what type. For instance a quick survey of the land to find out of any damages, say for a farm after flooding, will only require the shortest of flights and nothing fancy on the camera work to be able to determine the information needed. Once you start needing volumes for soil pile, aggregate, or general lay of the land that isn’t flat you will need a survey conducted that gives more information to pull from.
Choosing a Drone
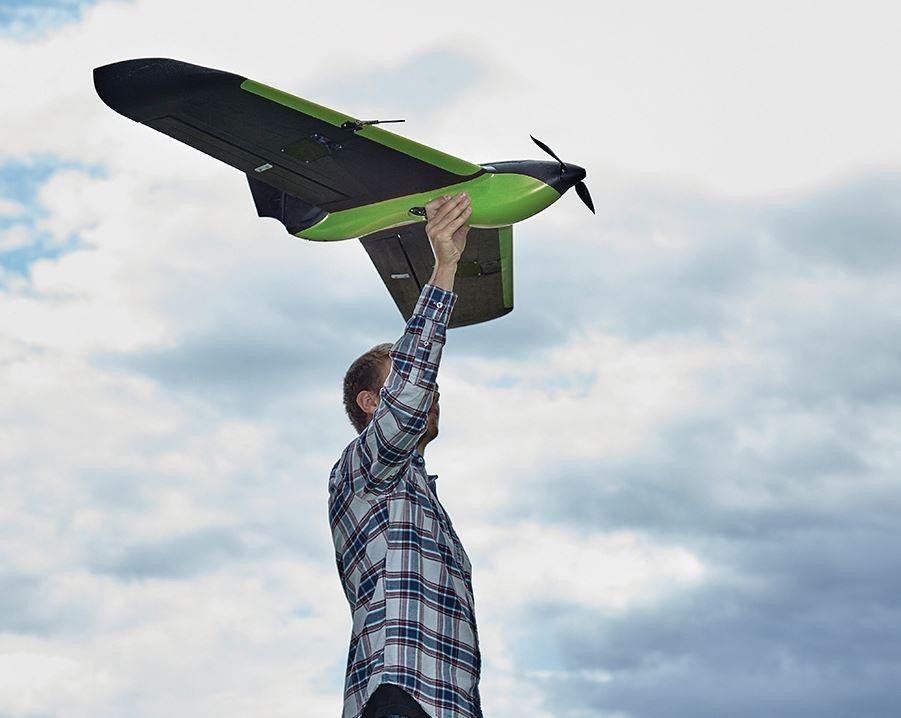
Picking a drone to use is the first step in the process for conducting 3D drone surveys and the best thing to know is you are looking for flight time/distance, usability, and camera/sensor quality. The flight time and distance per minute is more important than the flat battery life as fixed wing aircraft can fly equal time as a quadcopter, but cover more than 10x the area that the quadcopter at times. So deciding what platform to use is important as well as keeping in mind that most fixed wing platforms can take a bit more to use and understand than an off the shelf DJI quadcopter. Usability is important in where you are operating, there isn’t a need for a fixed wing aircraft when you plan to do multiple, small sections of land/area, and likewise there is a greater need for a fixed wing when you have possibly hundreds of acres of land to survey. And last is to make sure the sensor or camera being used is high enough quality that you don’t have to skirt tree lines in order to take good quality photos.
Weather Conditions
The next step is verifying when good weather is available. This will vary wildly depending on the platform and the drone being used in that platform. For instance, a regular Phantom 4 from DJI can take winds up to about 15 - 20 knots depending on pilot confidence and responsiveness, but other, larger, quadcopters can be rated as high as 35 knots! In the same vein when using a fixed wing drone the airspeed tolerance can be just as variable depending on size and powerplant being used. When using both platforms the best wind conditions will be steady winds with low gusts (1-3 knot difference with gusts) to avoid the aircraft from being thrown around or off course randomly and to save power so servos or propellers don’t have to work harder to stay straight and level. The other consideration that one should have for weather is cloud cover, the best time to fly is with no clouds or overcast skies. When flying with scattered clouds you can sometimes get “ghosting” in the stitching process that makes it harder for one to read the data given so, while it might not be a situation to ground or stop operations it is something worthwhile to consider.
Choosing Flight Settings
Flight settings are the most important to your flight as it will determine whether or not you will need to stop and put a new battery in or not as well as determine how much information you will be gathering from the flight. If you need a simple survey flight, doing a simple vertical or horizontal flight with just 85% overlap on the photos will be more than enough to conduct the survey. Grid surveys, going both vertically and horizontally over the area of interest, will offer better 3D object stitching, but typically won’t increase accuracy for a simple survey by a noticeable amount and will just increase flight times.

Height is the next option for flight settings, but it depends on the camera more than the platform being used. If you want more information with better quality, the best thing to do is start at 200ft then lowering the height of the mission by 10-15 foot increments. Lowering the height will give you more photos to work with as well as them being better quality. To start, depending on the area of use, somewhere between 200ft and 175ft is the best starting point and then decrease from there.
Flight Options for 3D Objects
If you want to make a full 3D object and your object is more than a pile of rock or landscape, then doing both vertical and horizontal passes with camera tilt will be the best option. If it's just one single building or structure then circular patterns can work, but for that to be effective you must do multiple flights at different altitudes and different camera angles. This part is more up to pilot discretion and all of these methods can give you a clear 3D image to varying degrees, just depending on the situation. It also is not a horrible idea to go out to the area you wish to survey and do multiple surveys and save them individually to see how well they pan out, usually you can do one survey per battery so this can be worth your time and save you money down the road easily! Just be cautious of which type you are planning to do, if you’re looking to survey a pile of dirt, the settings talked about previously of 200ft and 85% overlap will be easier and quicker than doing 5-10 circular flights to give you the same information.
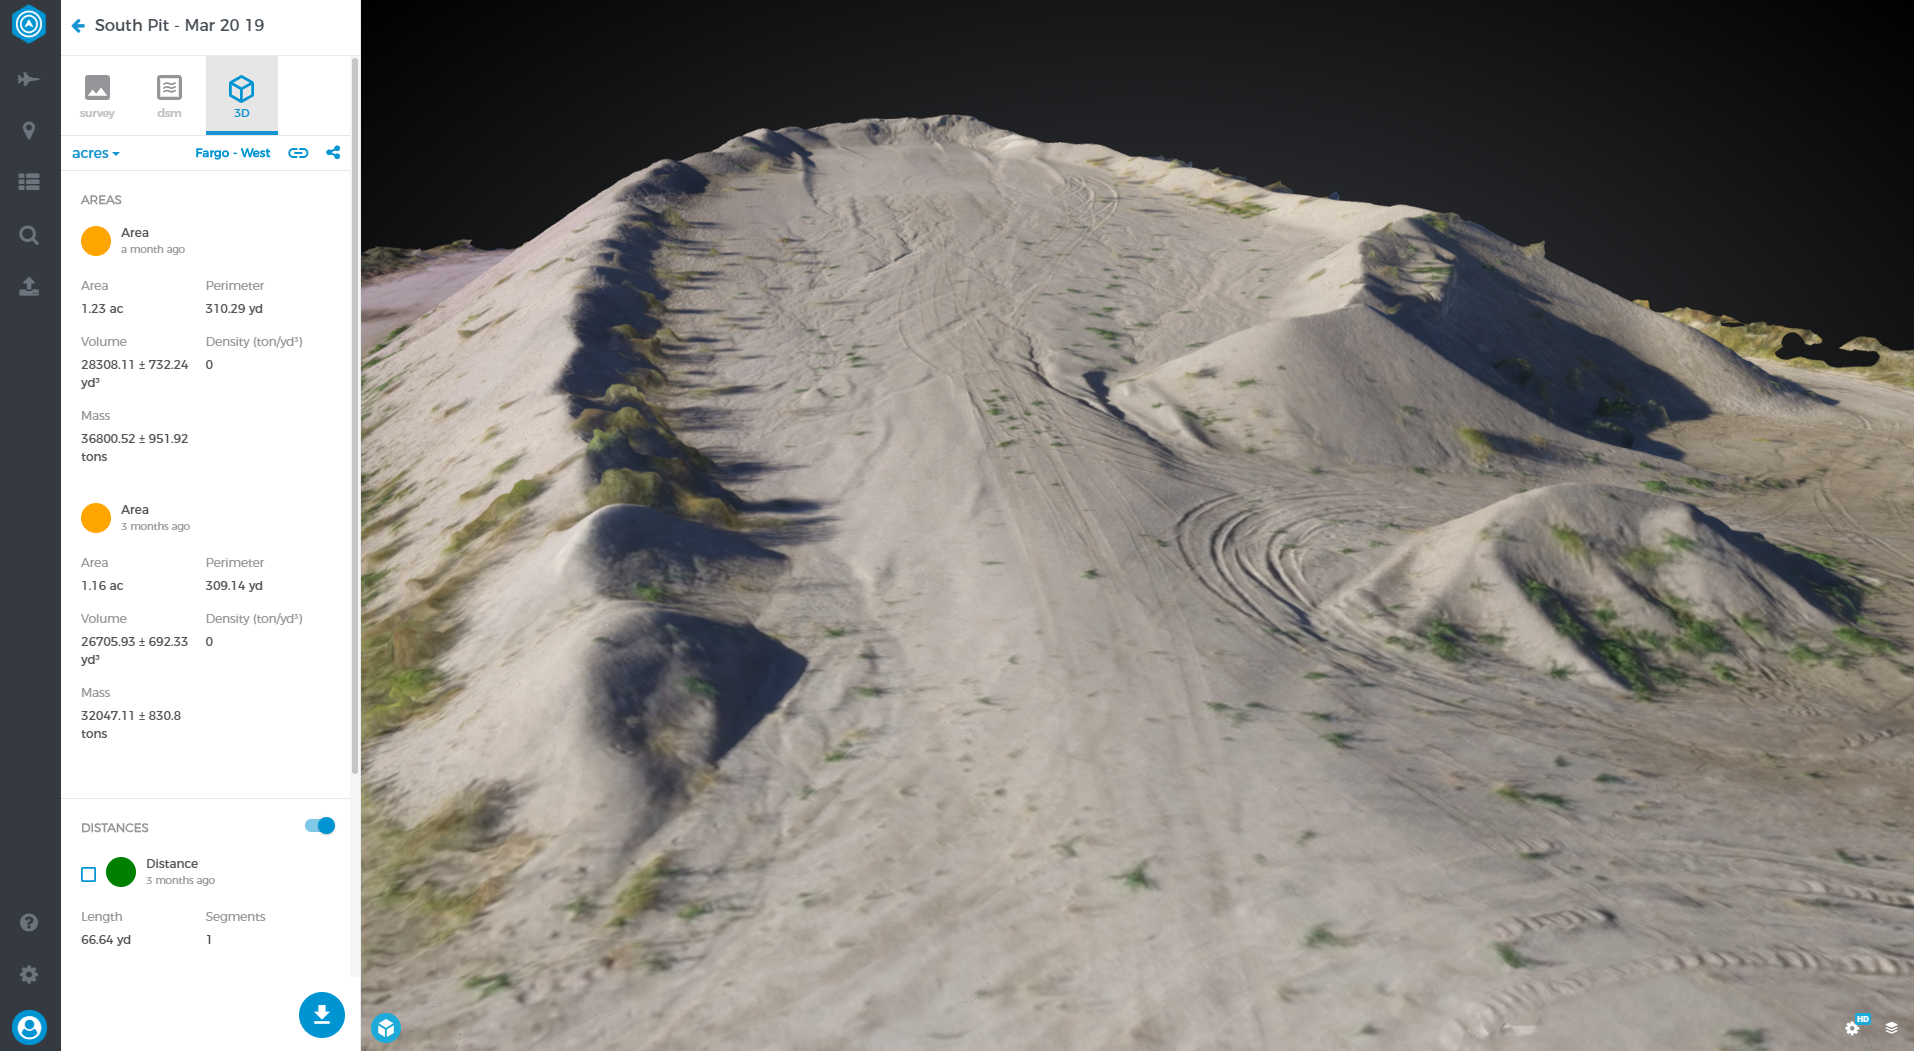
Post Analysis
Post analysis will be uploading the images to a stitching software and then going over it yourself either through visually seeing what you needed to or using tools to find volumes, heights, or damages in the image set provided. If going for a 3D map then this part will be most important as most stitching software, after stitching and forming your 3D object, will be finicky about placements for measurements, but the degree for error is still enough that not having perfect placement won’t even take you mildly off accurate calculations.
Again, when using Botlink’s Capture App and then Insites the recommended settings for the most efficient use of time and best picture for the lowest flight time:
Height - 200ft
Overlap - 85%
Gimbal Angle - 90 degrees
No Grid Pattern